
Create Linux application with Flutter
Hello, in this article I will explain step by step, how you can create Linux application with Flutter .
I have currently installed Ubuntu 21.04, but you can do it at any Linux distribution.
- Install snap on Ubuntu from the command line
$ sudo apt update
$ sudo apt install snapd
- Install Flutter using snapd
$ sudo snap install flutter --classic
- Install additional requirements for Linux
$ sudo apt-get install clang cmake ninja-build pkg-config libgtk-3-dev
- Enable Linux desktop support
$ flutter config --enable-linux-desktop
-
Install Visual Studio Code
I have decided for this demonstration to use Visual Studio Code, but you can also use Android Studio.
$ sudo snap install code --classic
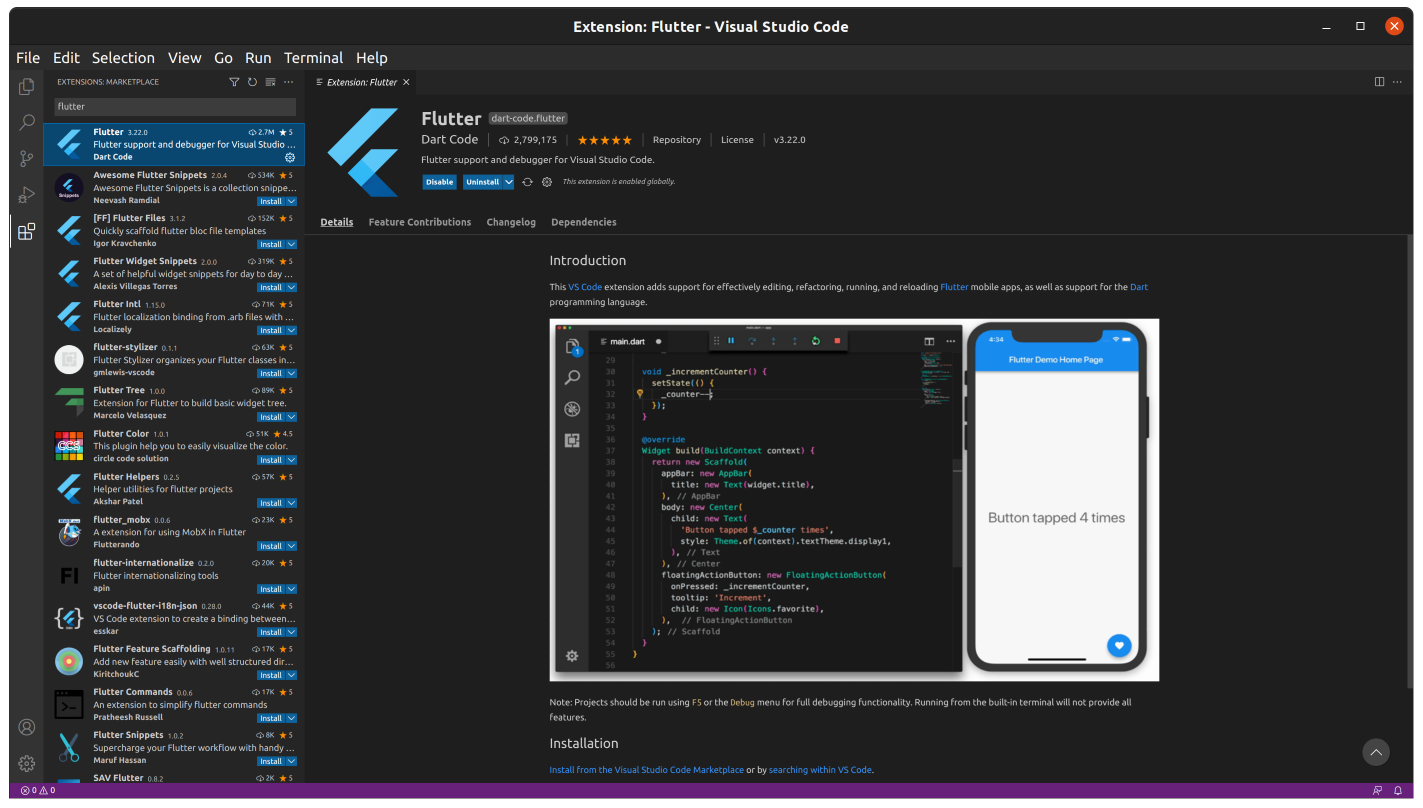
- Install Flutter plugin
- open VS Code
- Go in extensions
- Type in the search field "flutter"
- Install and restart VS Code
- Create new Flutter project
- in VS code press Ctrl+Shift+P
- Select Flutter: New Application Project and press Enter
- Select destination for the project
- Enter project name
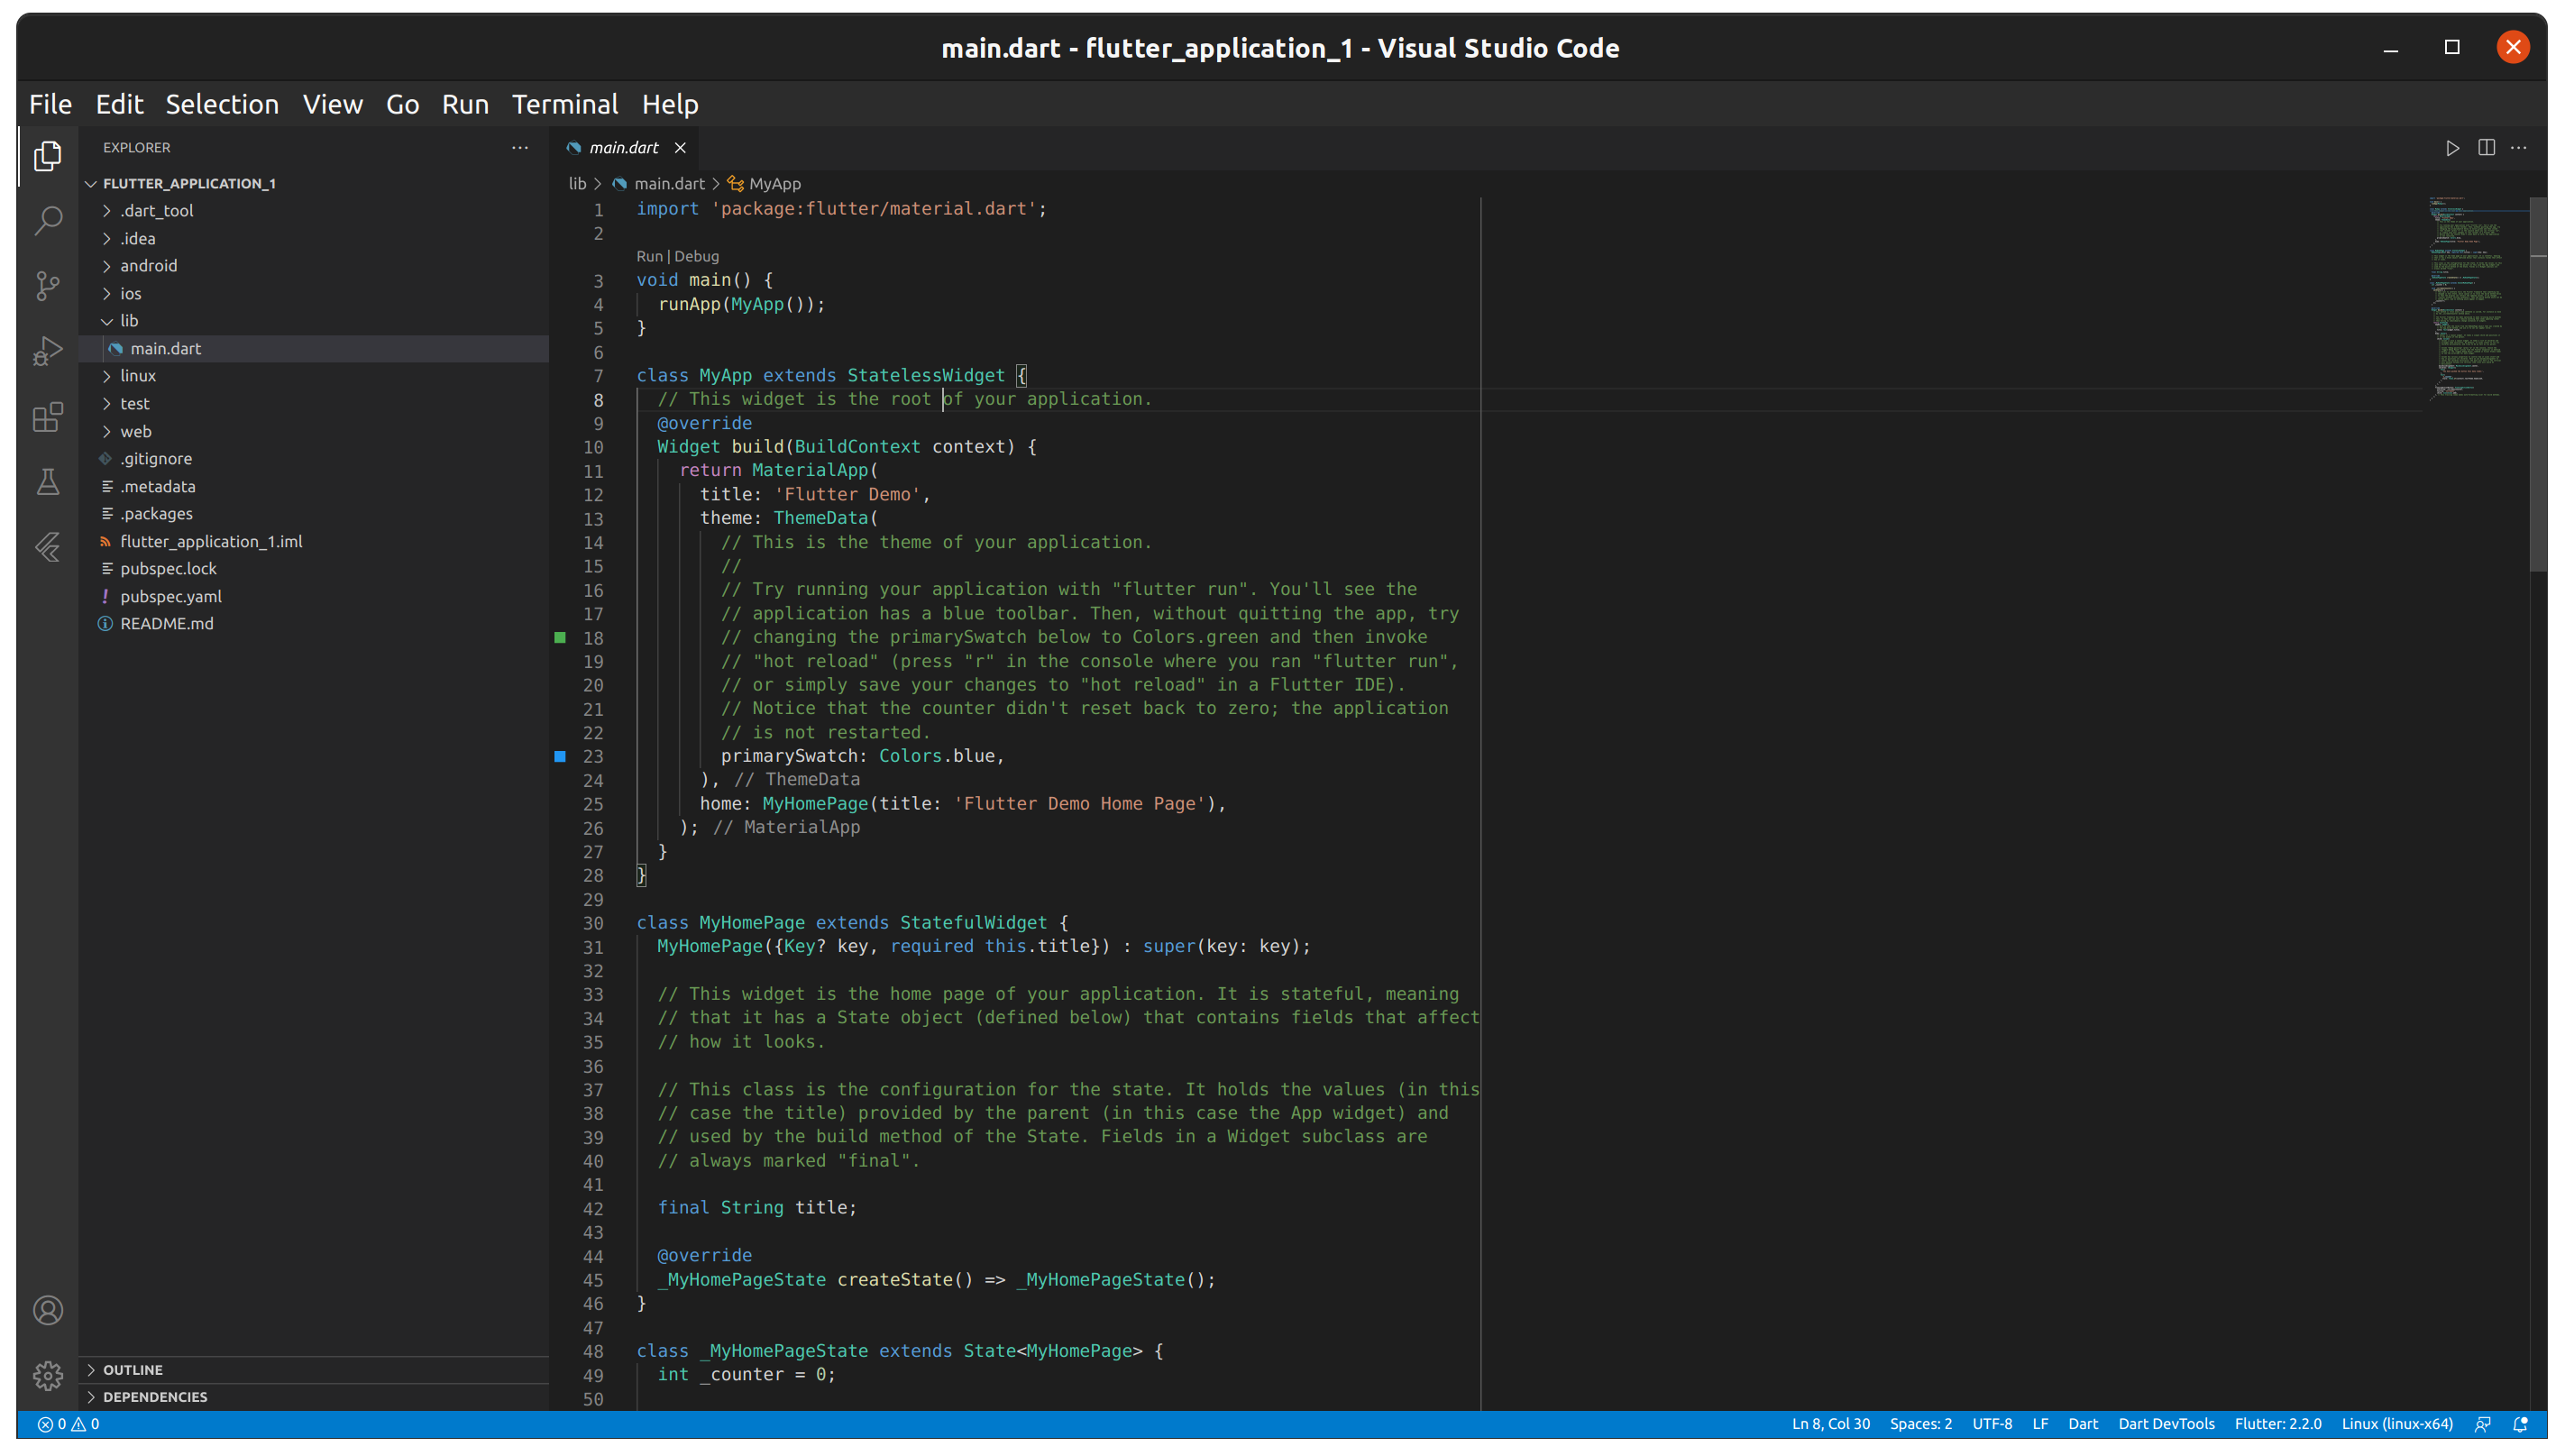
Now you have created new Flutter project.
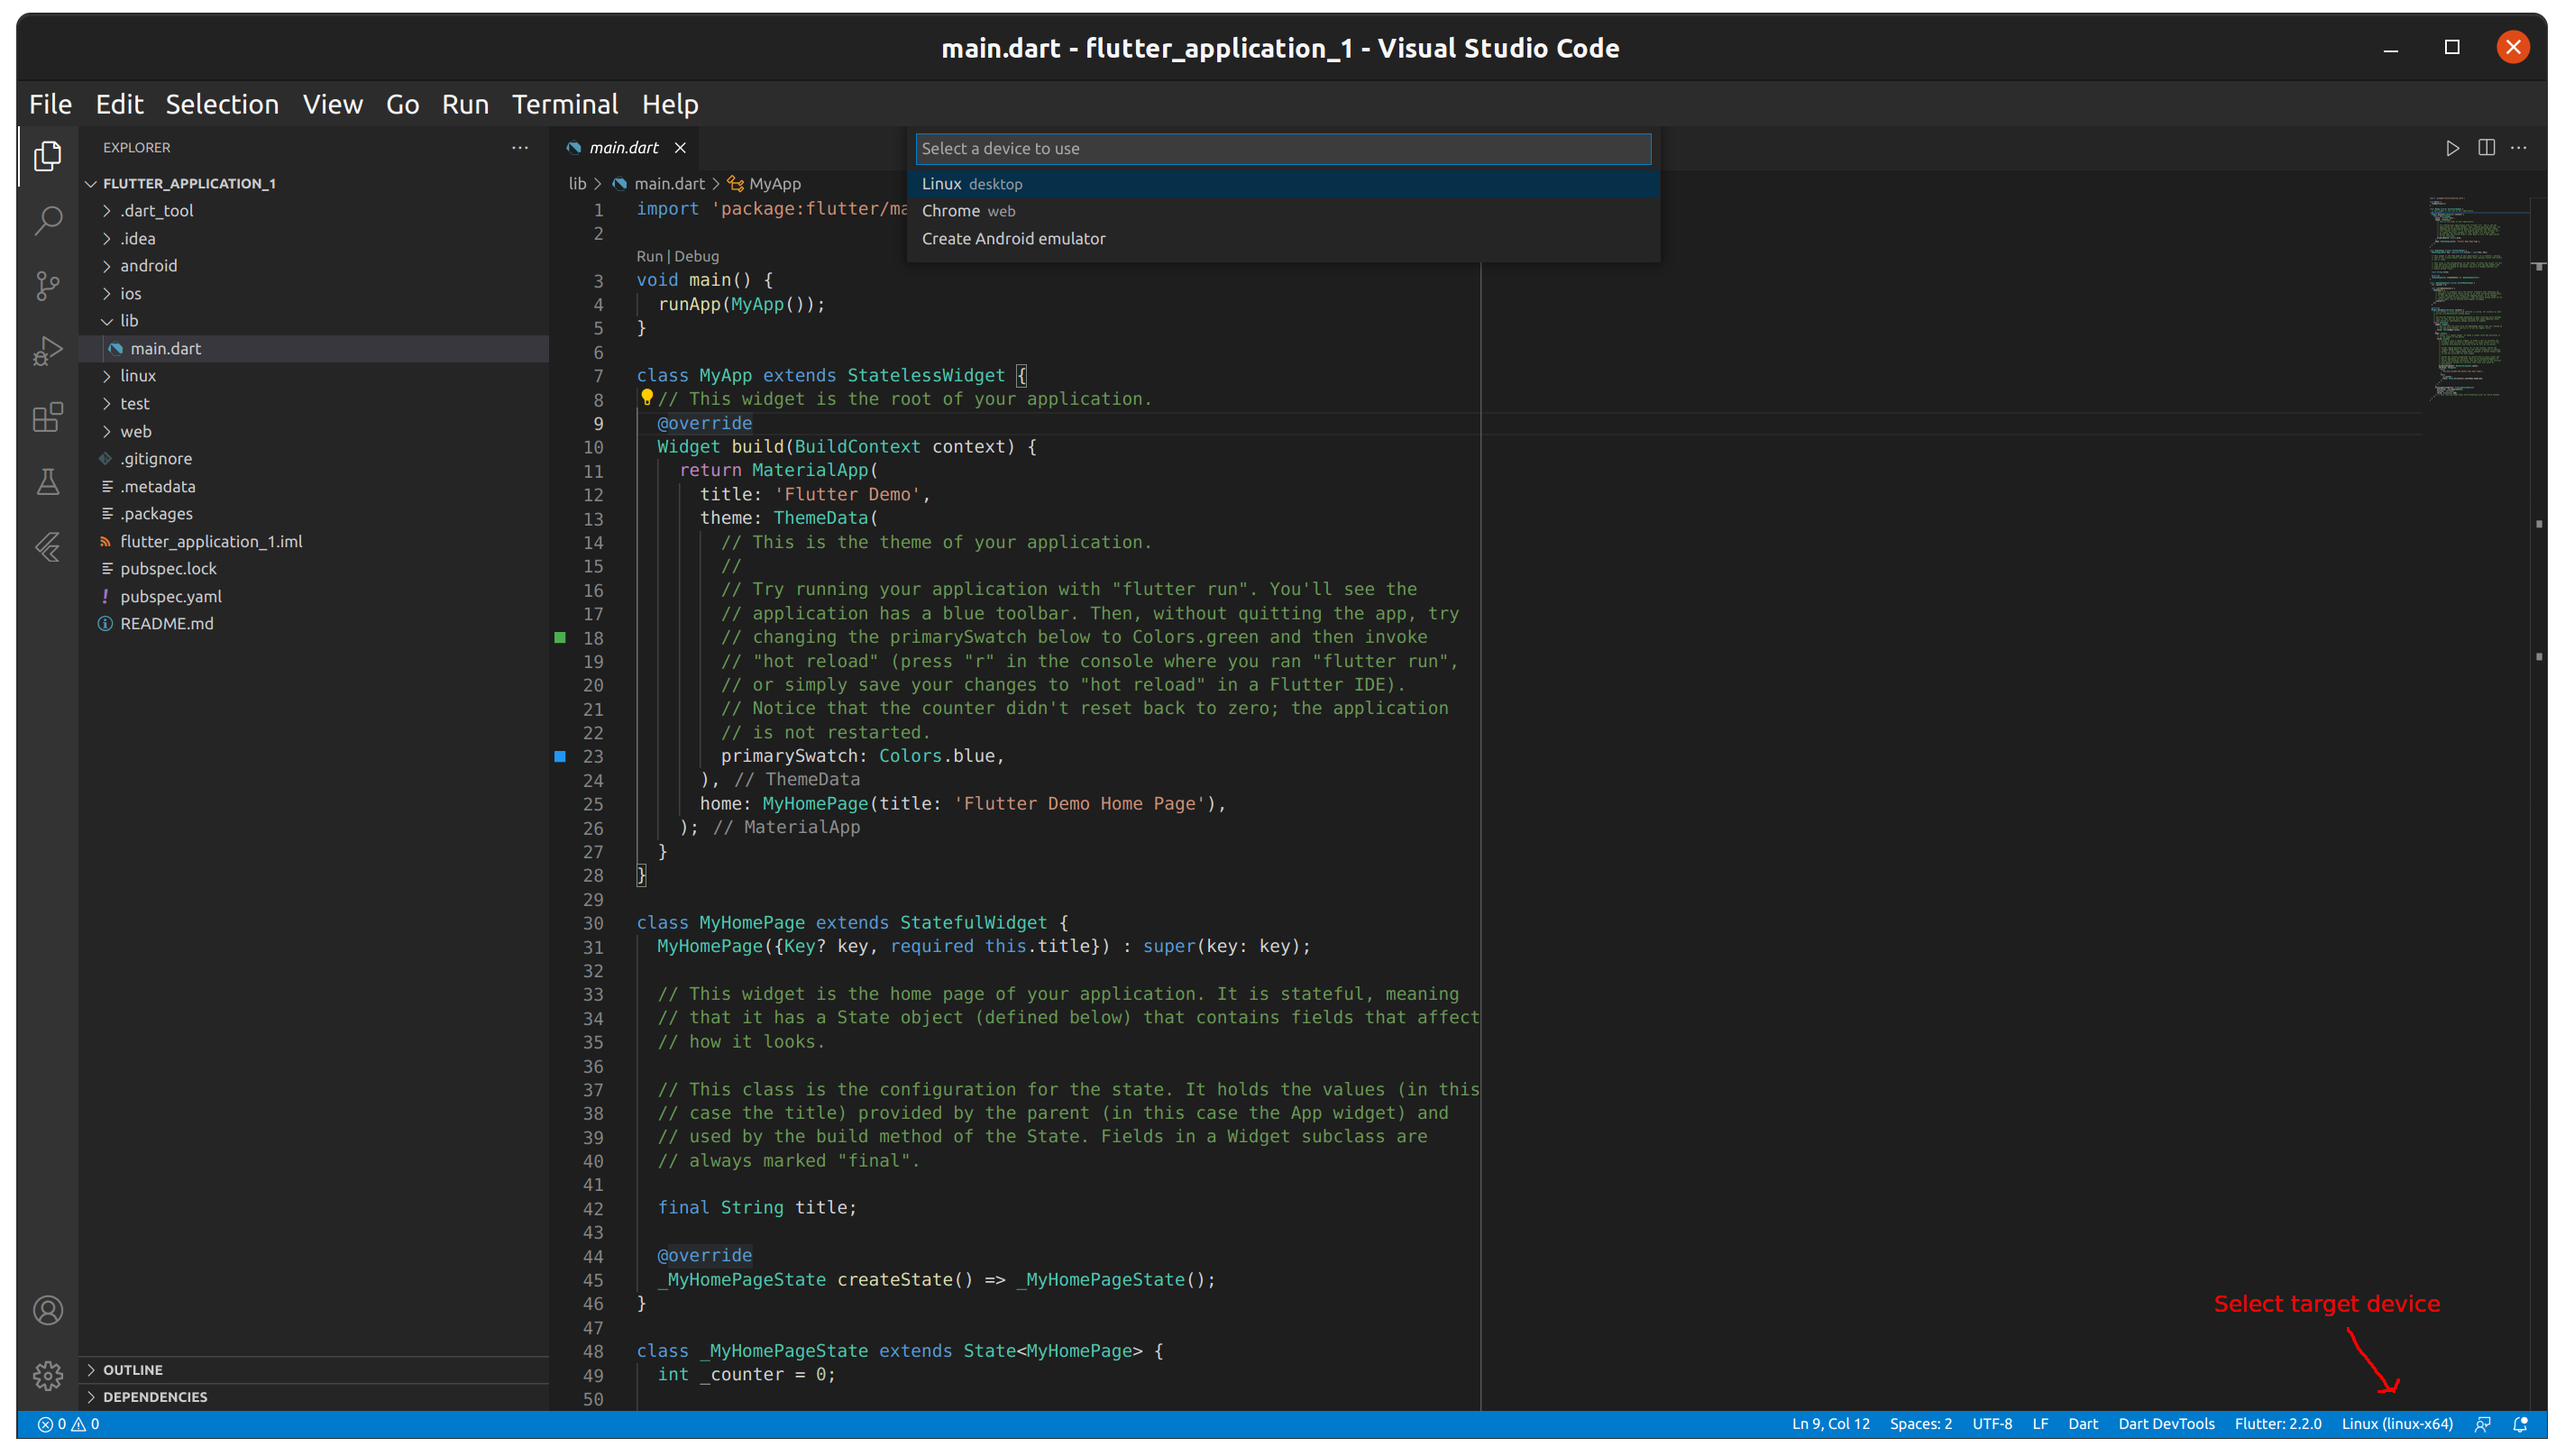
- In the bottom right corner select the target device, we will select "Linux desktop". If you want to build web app or android you can select some other device.
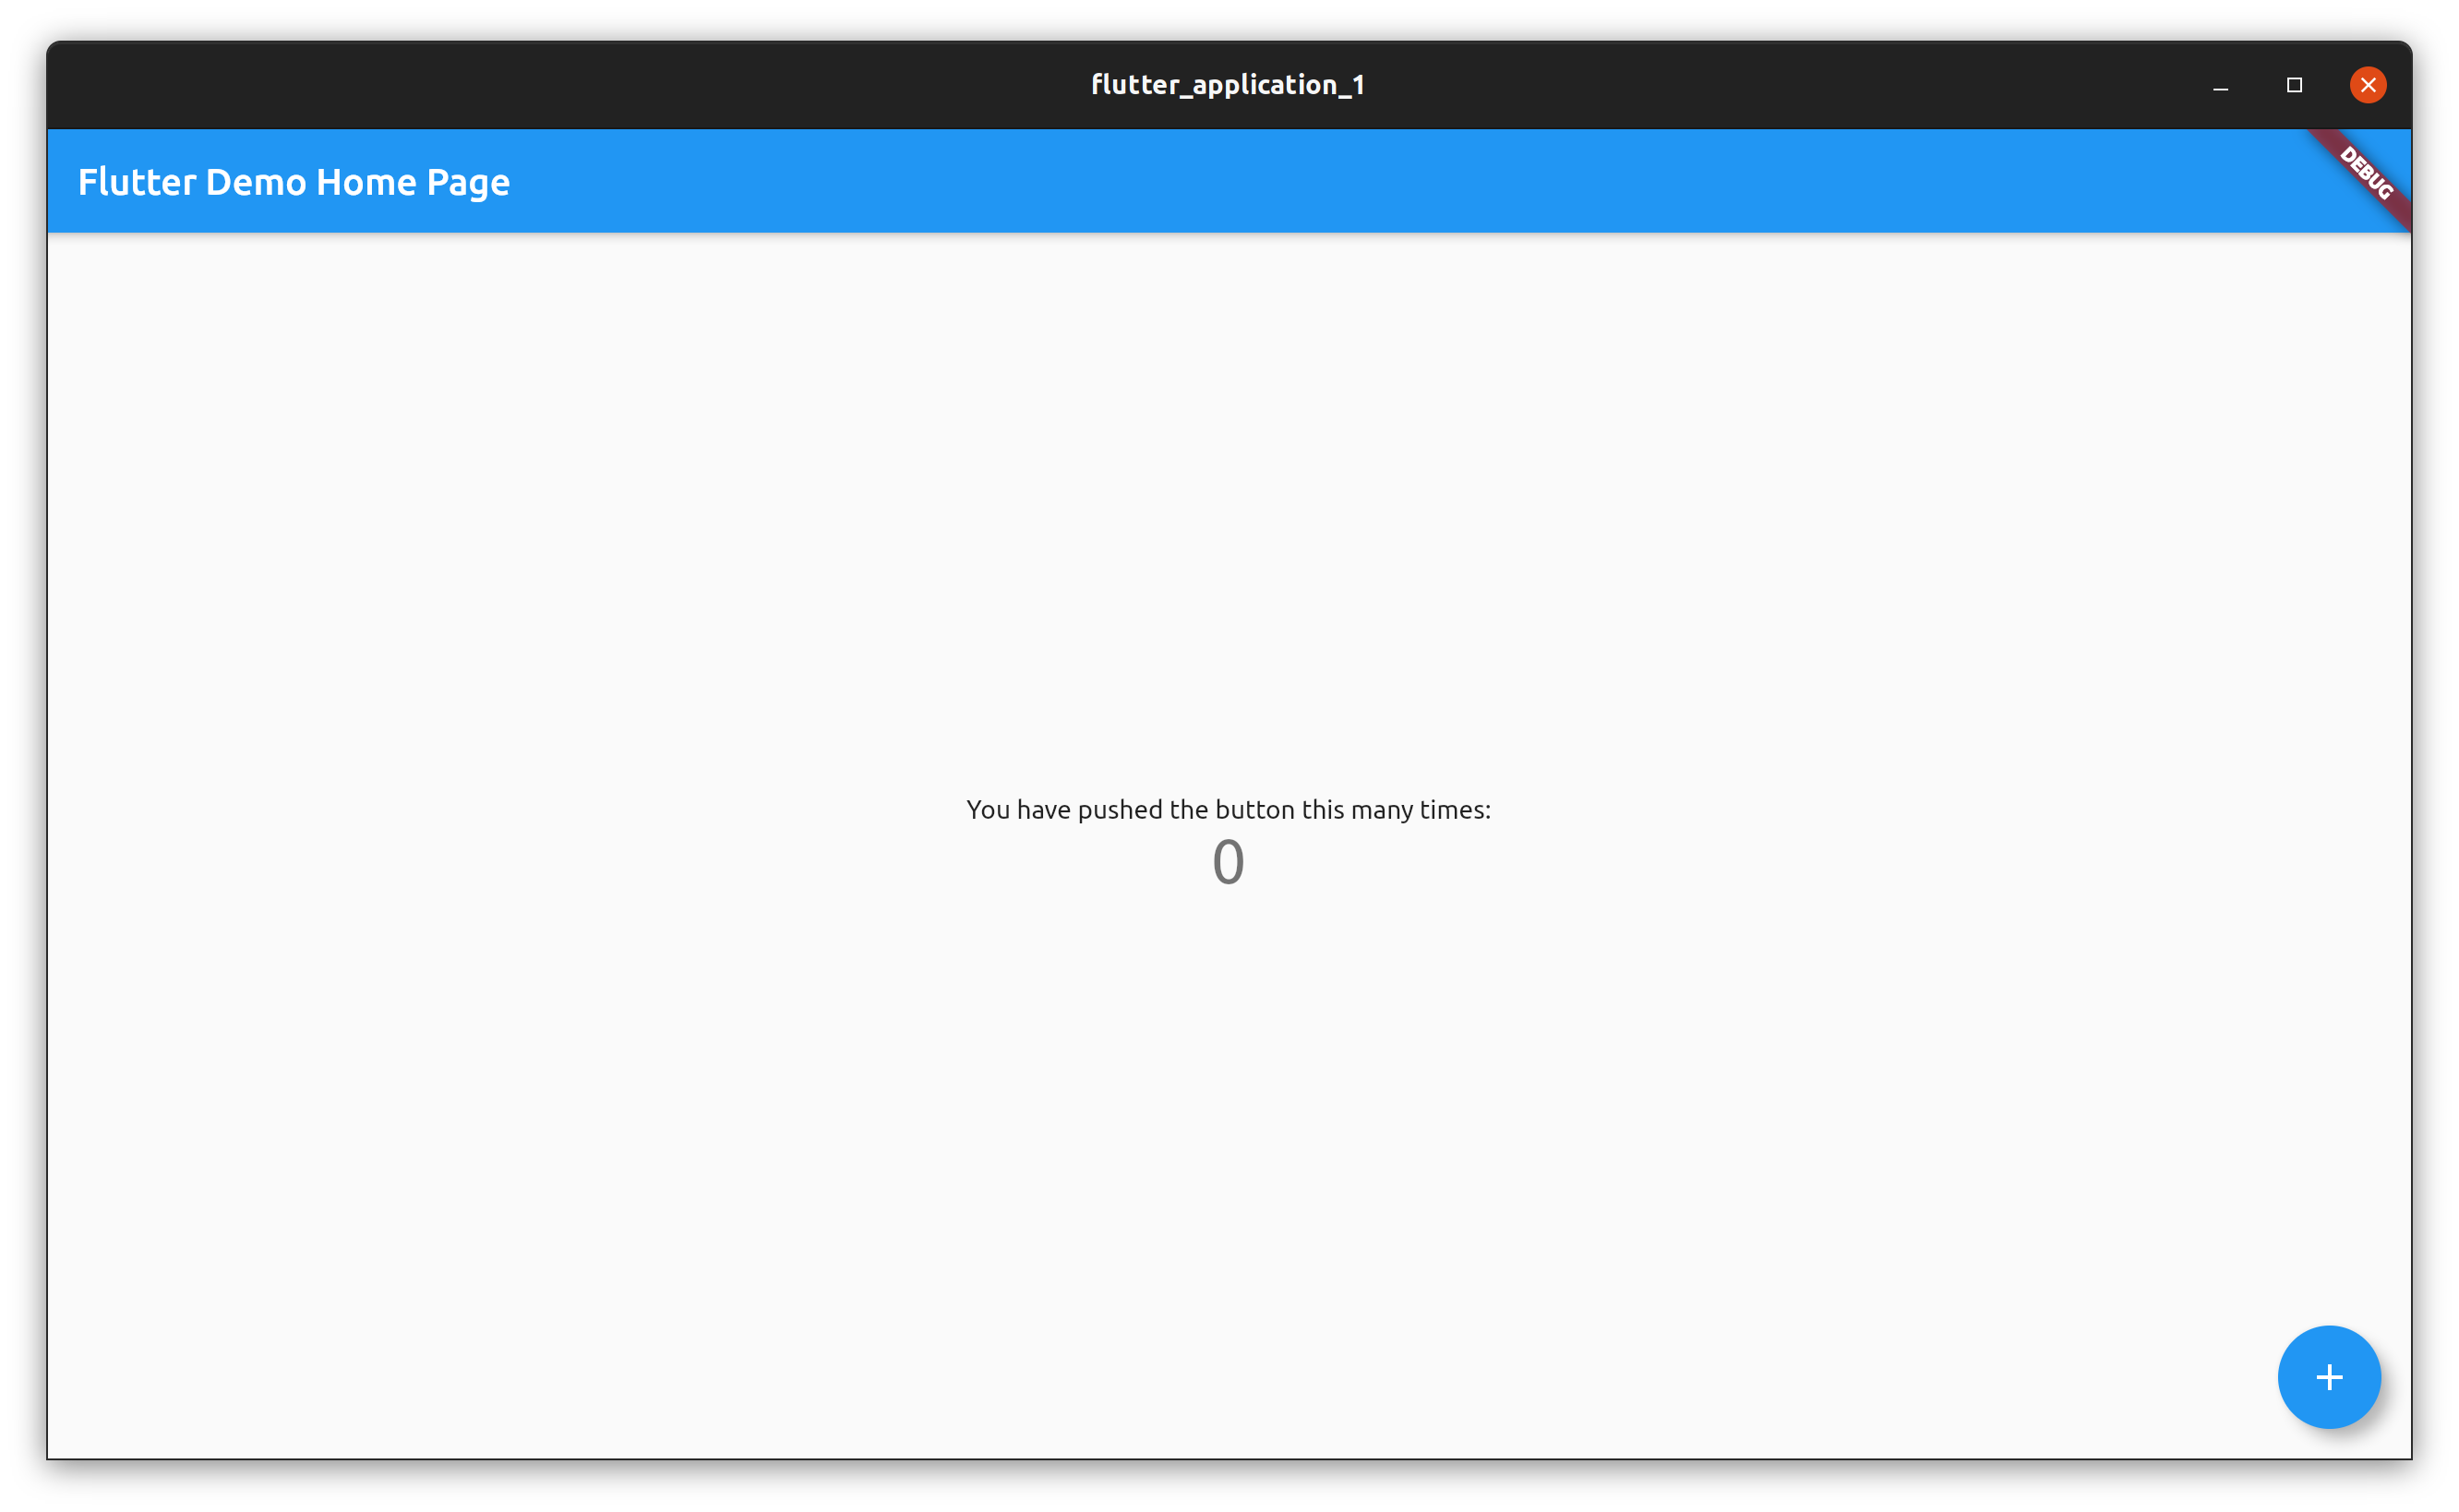
- Run application
To run application just click Run > Start Without Debugging, or press Ctrl+F5. And here is our Flutter application for Linux.
For this simple tutorial, my source is Flutter official documentation that can be find here.
In some of the next articles I will write more about how you can deploy Flutter application to Snapcraft .
Thanks.
Checkout my Flutter game for Linux here.